TheFIX 001: Luminosity Masking in Photoshop with Dave Cross

Episode 001 Luminosity Masking in Photoshop with Dave Cross

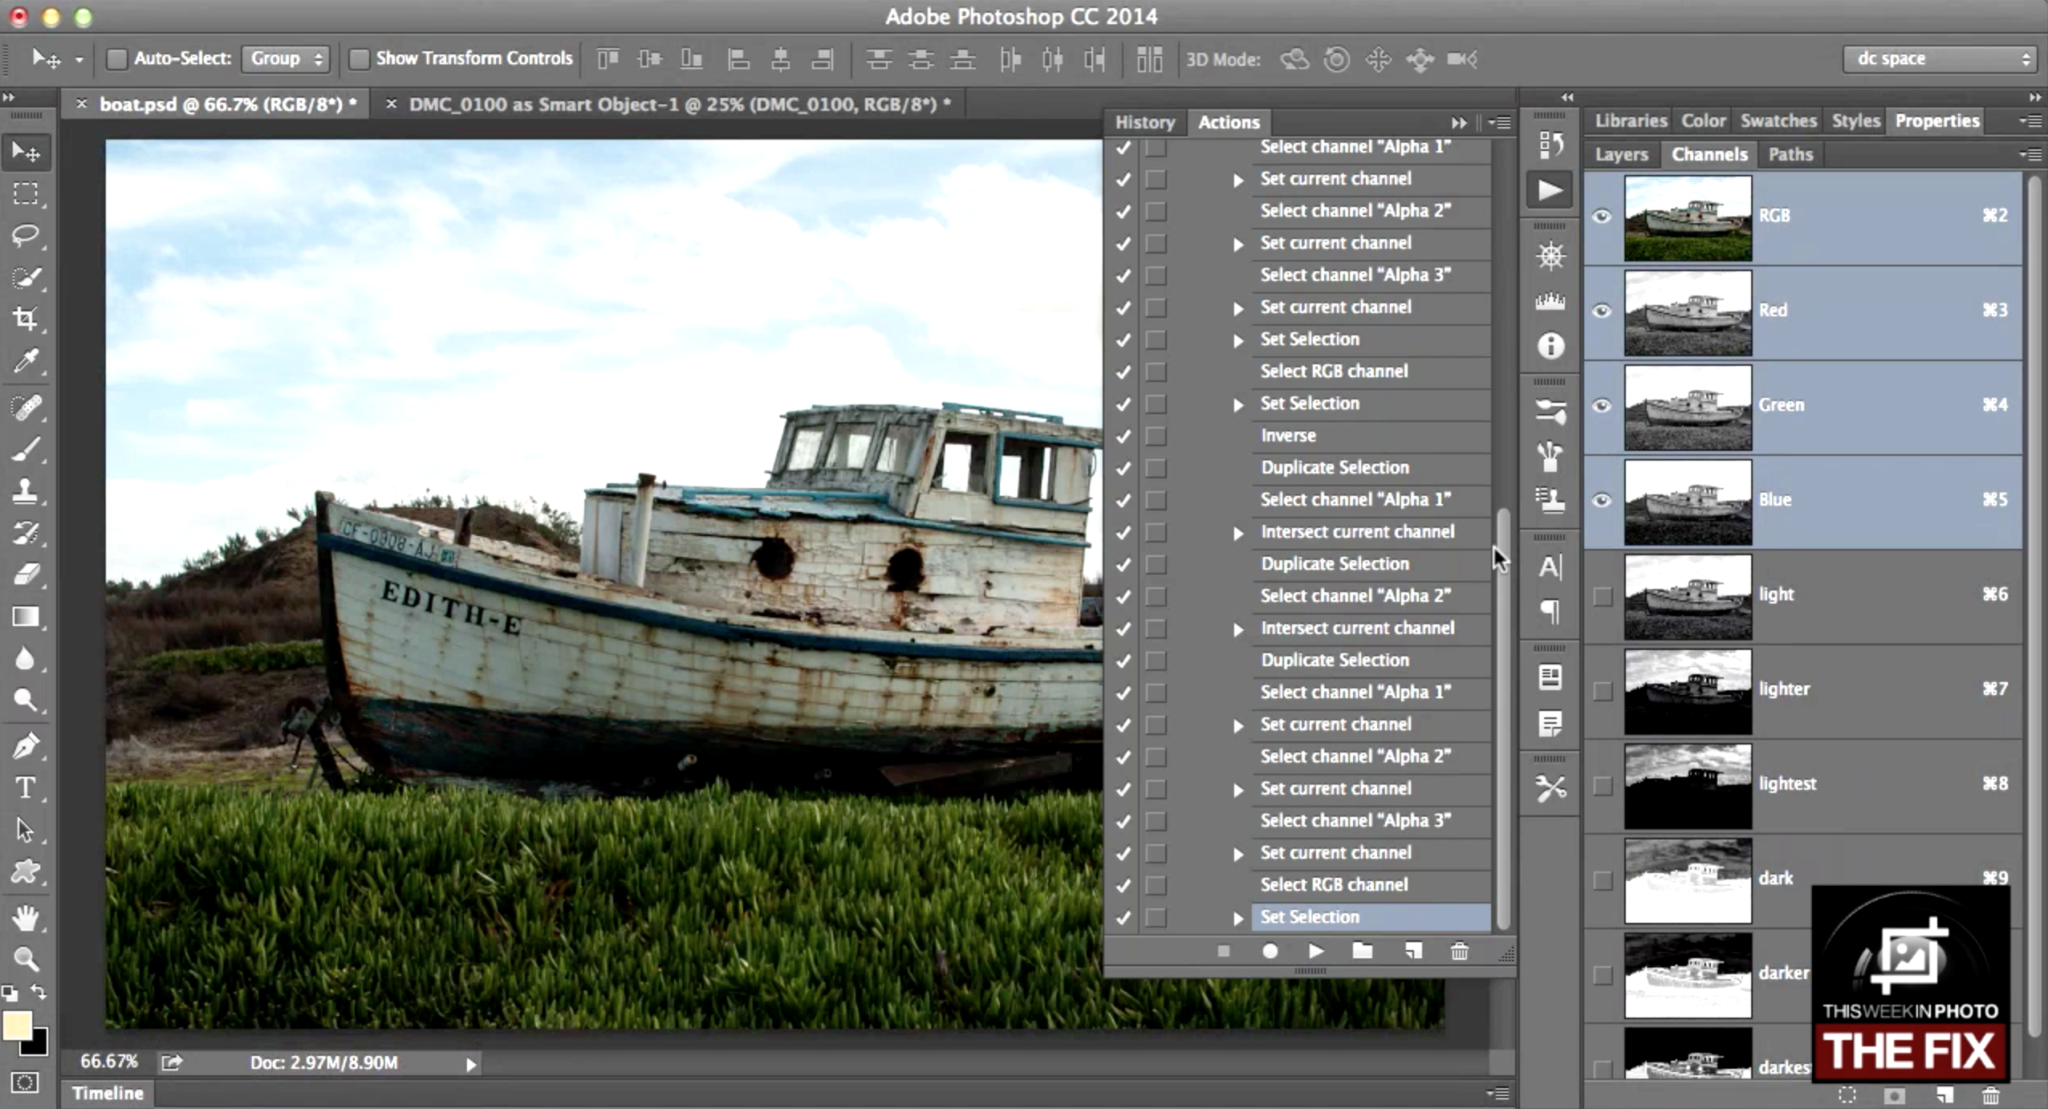
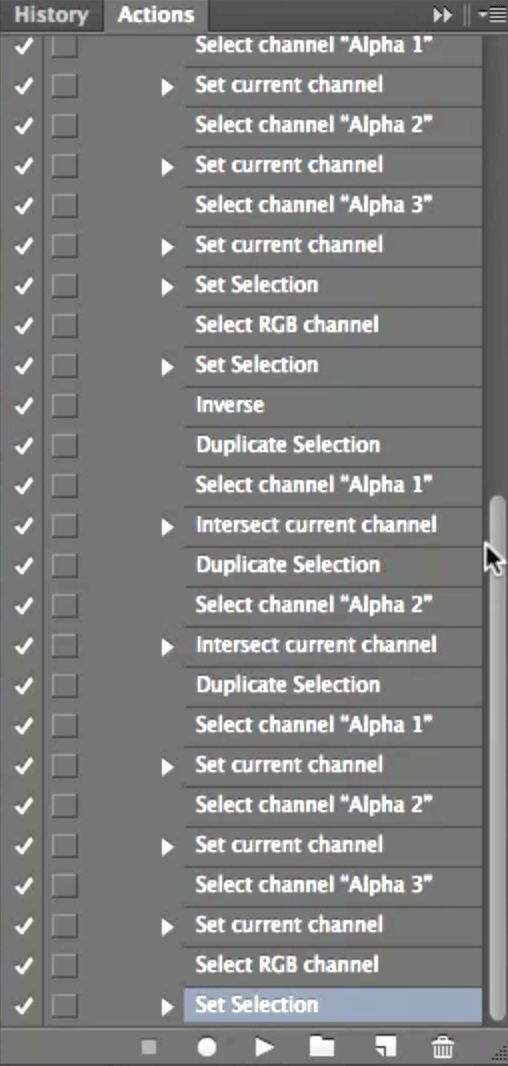
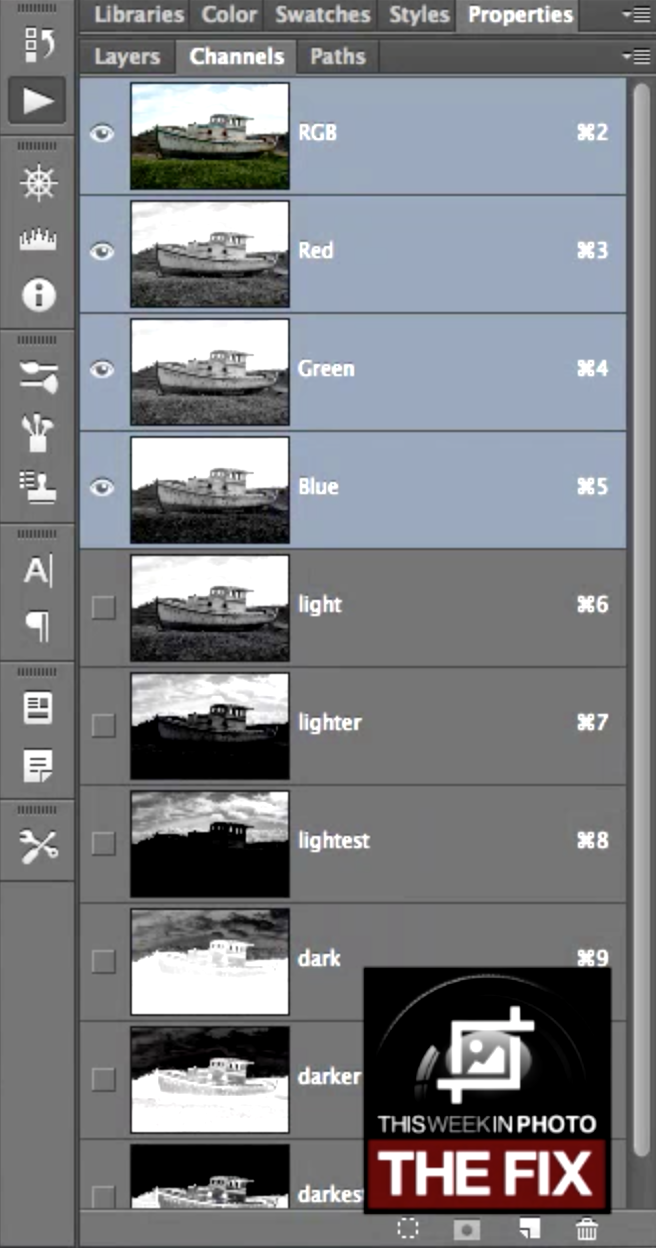
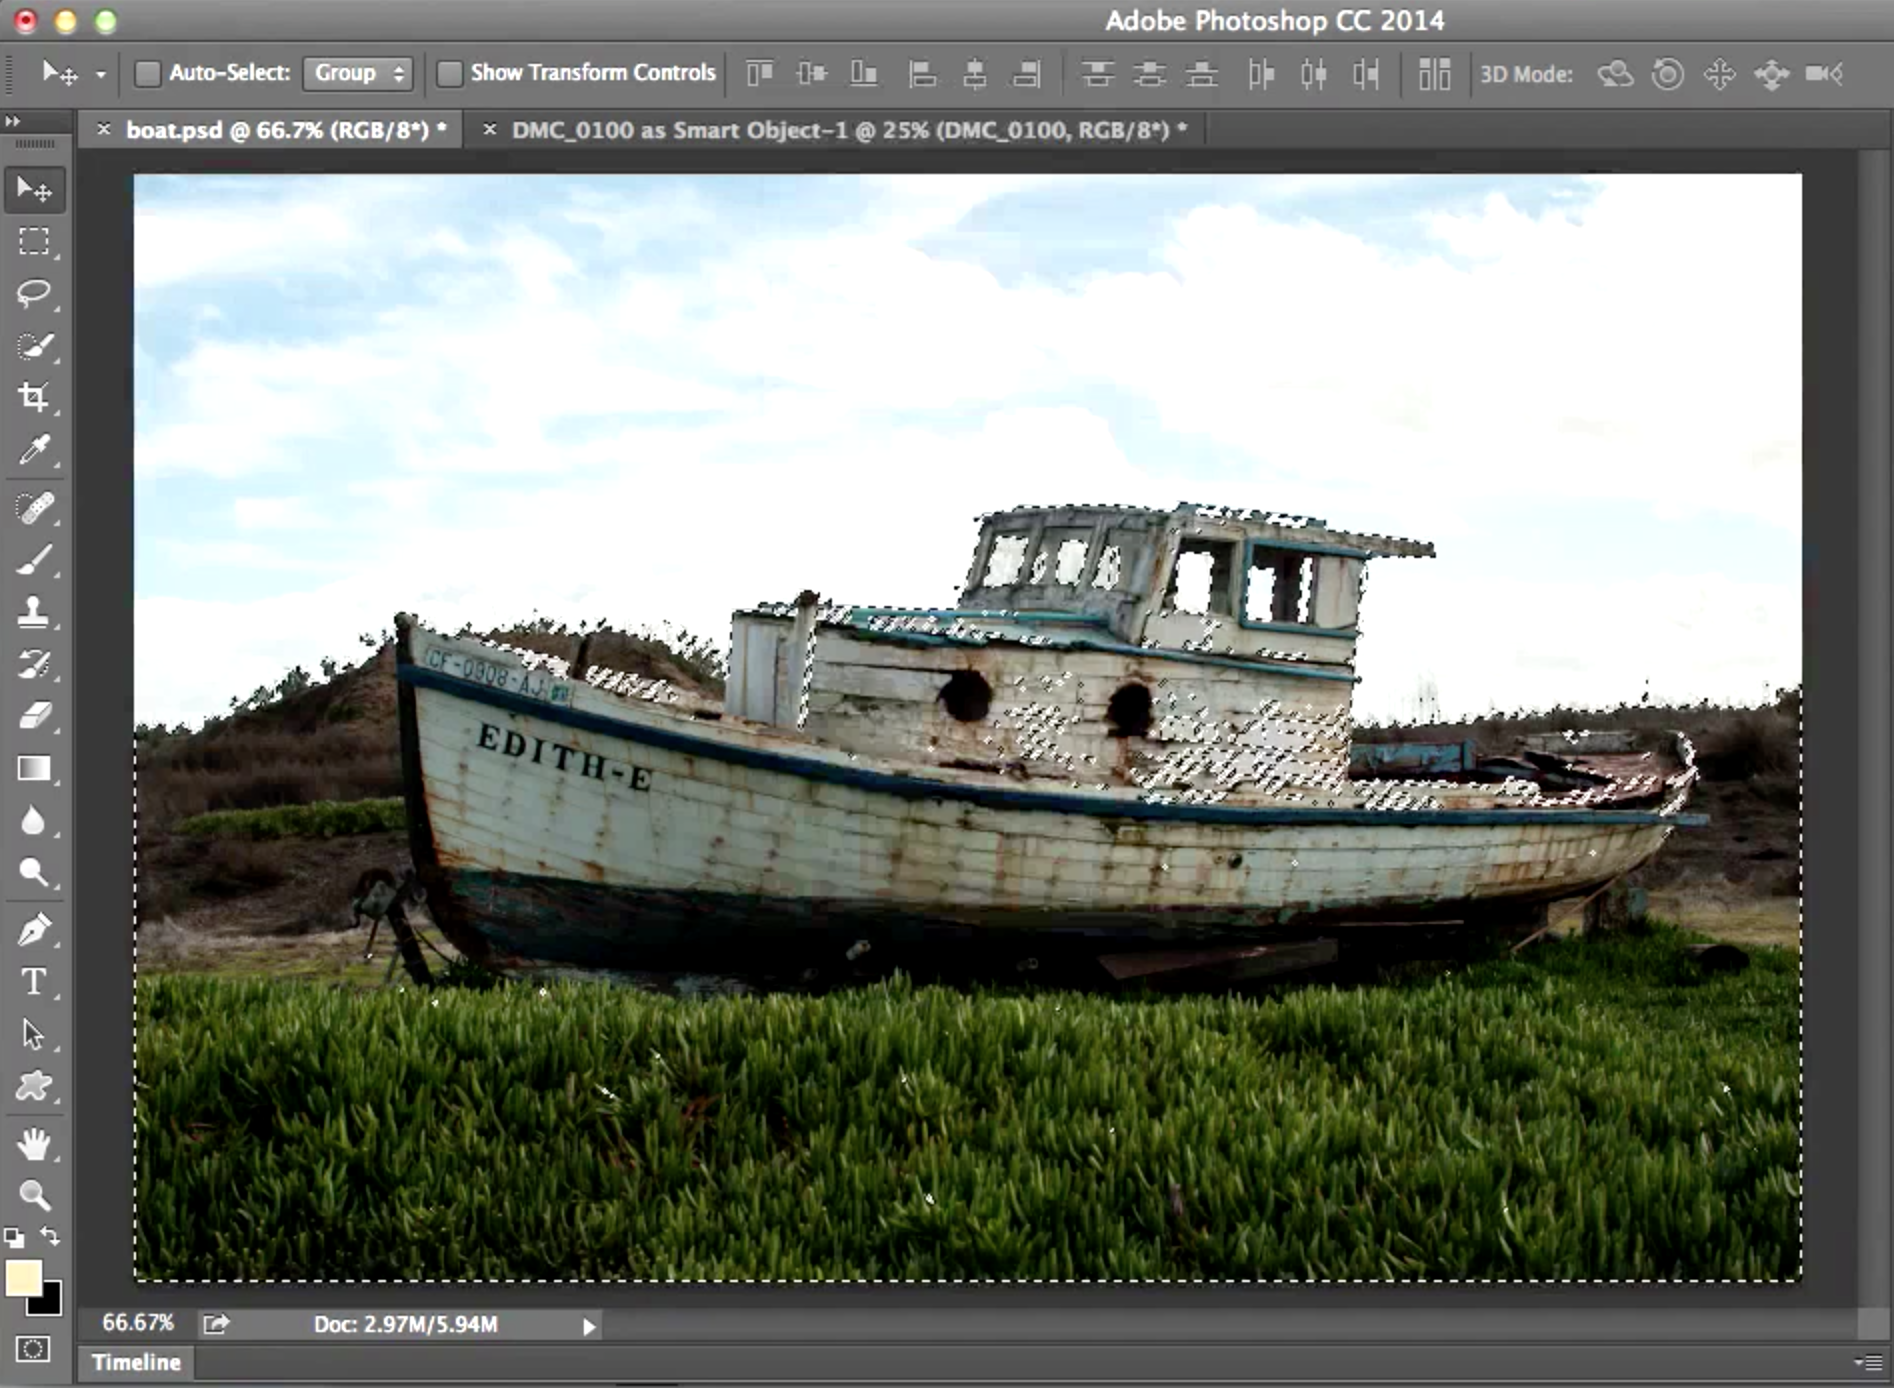
Luminosity masking is the hottest Photoshop editing technique around. Dave Cross, Photoshop instructor extraordinaire, walks you through luminosity masking and gives you his take on breaking bad–bad editing habits that is–in this episode of TheFIX.

Highlights of this episode:

  • 03:16 Nondestructive Editing chat.
  • 14:10 Luminosity Masking tutorial. This is terrific. Don't miss it!
  • 24:33 Adjustment Layers tutorial.

About Dave Cross

Dave has been teaching Photoshop since the program was first released in 1990 to consistent rave reviews! He's recorded many online courses and DVDs for Kelby Training, he's a popular instructor on CreativeLive, he's taught at Photoshop World 25+ times, and he's written numerous Photoshop articles and books. Check out Dave's comprehensive new online training site davecrossworkshops.com to learn more from the awesome Dave Cross.

Show us what you've got!

Try out the Luminosity Masking techniques Dave demos in this episode on a photo of your own, and upload a before and after version in the comments below. (We've got elves vetting uploads for spam, so it may take a short while for your photos to appear. Please be patient.)

Where's Jan?

To see what Jan has been up to lately, check out her website jankabili.com, her in-depth training courses at lynda.com/jankabili, and her free tutorials at youtube.com/jkabili1.

5 Comments

  1. Thanks Dave Cross. This is a great start. For those who are interested in more on this subject Tony Kuyper has a great tutorial on Luminosity masks on his blog from 2006.

  2. Luminosity Masks HELP!!!

    After following your instructions on a Mac with the new CC Photoshop… I get to the point where I have a jpg/8/RGB image open…
    click on the channels pallet,
    command/option/click on the RGB and get a selection…
    but when I click on the save as a new channel using the button at the bottom of the channels pallet, I get a channel that is completely white…
    If I use the drop down menu at the top left of the channels pallet and use create new channel using “masked area” I get an all black alpha channel, if I choose using selected area I get a white alpha channel..
    I can clearly see the “marching ants” in my selection, but I’m not getting anything in my alpha channel… unless I use the save selection in the drop down menu from select at the top of the screen. Finally…..

    If I go to the select “save selection” menu, I actually get a new alpha channel that contains black/gray/white pixels ). So everything is good, until I go to step two, and I command/option/shift click on the new layer and tell it save selection ( via the select menu, as the other options don’t work as you describe in your tutorial ), I get a new alpha channel that is lighter in appearance than alpha one, where your alpha 2 is darker… Alpha 3 is even ligher, where your alpha 3 is darker yet. I’m sure this is a user error, but I’m hopeful that I can get a course correction as I’d like to be able to use this tutorial, but right now, it’s a source of frustration as I am getting further and further from my destination, no matter how many times I watch and follow along step by step….

    Do I need to change my settings in Photoshop preferences? Is there something else, I’m missing? Please throw me a bone so I might be able to get this to work… Thanks!!!

  3. amerikincynic: I’m so glad to hear you’re giving the luminosity masking tutorial a try. This is just a guess, but I wonder if the reason you’re not getting the same result as Dave Cross is that you’re clicking a different button than he is at the bottom of the Channels panel to save each selection. The button you want to click is the one that looks like a front-loading washing machine. It’s officially called the “Save selection as channel” button. I’m guessing that you may have clicked the “Create new layer” button (the one that looks like a turned up page corner) instead, which is not the way to go. If you expand the video of the podcast to full screen you’ll get a better view of which button Dave clicked. Anyway, give the washing machine button a try and let us know if it solves your problem.

    It’s great that you experimented by trying out other menu commands, but as you say those won’t get you the result you’re after. So to those of you who are reading these comments, please don’t be derailed by those menu suggestions.

  4. thanks… that appears to be the case… the fix logo was obscuring where he was clicking in the video, and it appeared he was clickcing the new layer, I even wrote down in my notes, make new layer… will give it another try tonight… thanks again for the speedy response!

  5. Great episode. Would propose eliminating The Fix logo during demos as it obscures what is happening on screen. Terrific content!